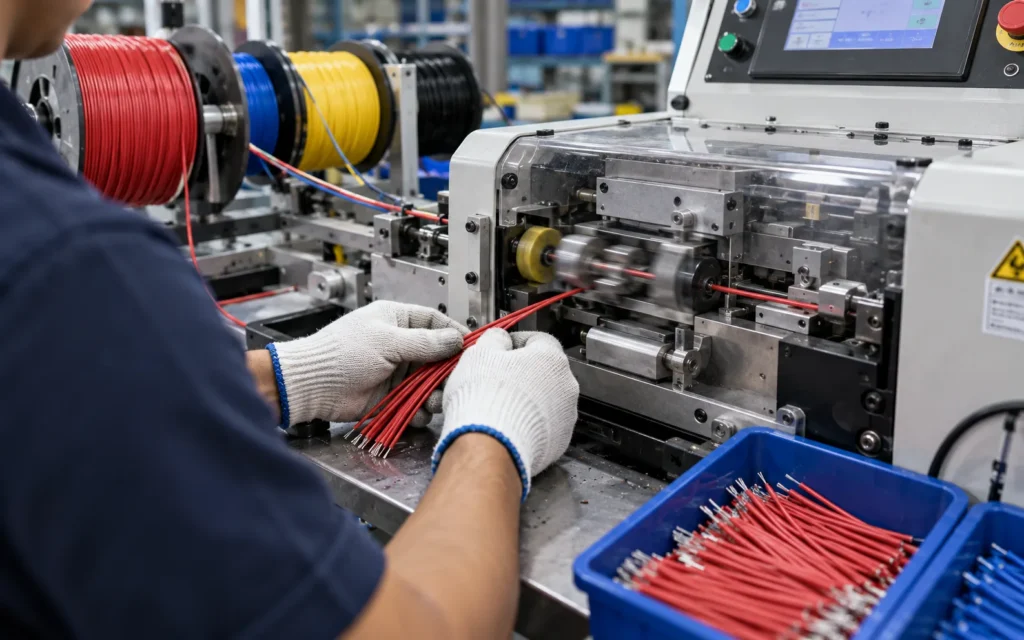
A finished wire harness looks simple: wires, connectors, a bit of sleeving. What you do not see is the sequence of precise steps behind it. Here is a walk through how a typical assembly moves through our Michigan production floor, from raw wire to a tested unit ready to ship.
Step 1: Drawing and build review
Every job starts on paper. Before any wire is cut, we review the drawing and BOM against the parts we have and the process we plan to use. This is where questions get asked and manufacturability issues get flagged. Once everything is clear, the job is set up with the correct materials, tooling and work instructions.
Step 2: Automatic cut and strip
Wire comes off the spool into automated cutting and stripping machines. These machines deliver precise lengths and clean insulation removal on every run, which improves consistency and reduces errors compared to manual processing. Doing this automatically matters most on higher-volume programs, where small variations would otherwise add up.
Step 3: Crimping
Next, terminals are attached. High-precision presses and terminal applicators produce strong, repeatable electrical connections. Each crimp is built to consistent pull-strength and resistance targets, so quality does not drift from the first unit to the last. Operators check crimps against the workmanship criteria for the job, and the right applicator and terminal pairing is verified before a run begins.
Step 4: Ultrasonic splicing
Where a design calls for joining multiple wires into one, we use ultrasonic welding. It joins conductors without solder, producing excellent conductivity and reduced resistance. It is especially useful where a soldered joint would be a weak point under vibration.
Step 5: Assembly and routing
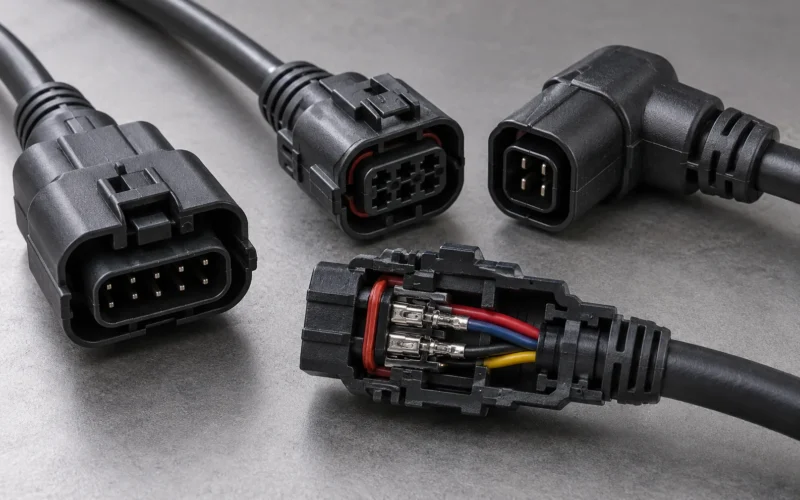
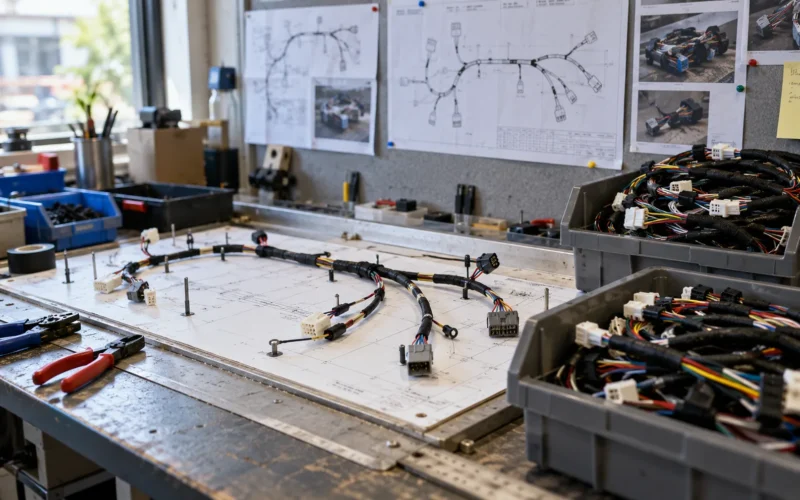
Now the pieces come together. Terminated wires are inserted into connector housings, routed along the drawing’s path on a layout board and secured. Branches are formed, breakouts are located and coverings are applied. This is the stage where craftsmanship shows: clean routing, correct bend radius and no stress on the terminations.
Step 6: Braiding, sleeving and overmolding
Finished harnesses and cable assemblies often need extra protection. Braided or sleeved coverings add abrasion resistance and EMI protection. Where connectors face moisture, chemicals or repeated flexing, we wrap the connector and cable transition in a custom-molded layer that seals and adds strain relief.
Step 7: Continuity and hipot testing
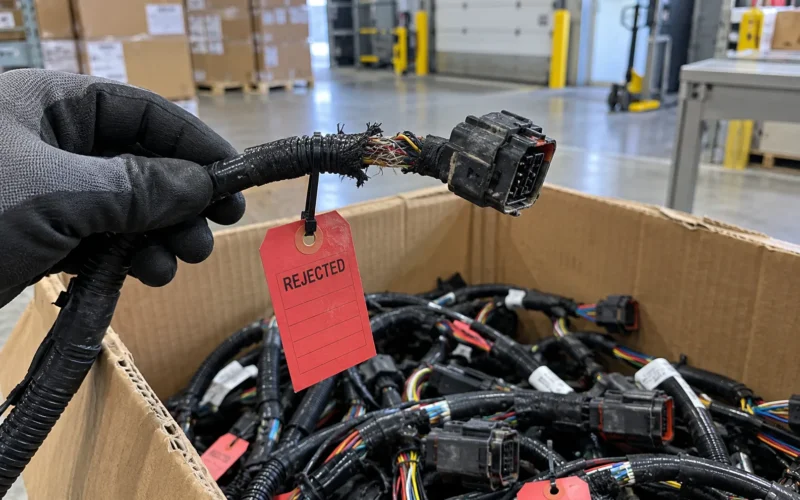
Before anything ships, every build is electrically verified. Continuity testing confirms each circuit is wired correctly, and hipot testing confirms insulation integrity under voltage. Pull-testing and visual inspection against workmanship criteria complete the checks. Results are documented, so you have traceability from raw material to finished assembly.
Step 8: Final inspection, packing and shipping
A last visual check, labeling verification and careful packing get the assemblies ready to ship to your dock. Packaging is matched to your requirements so units arrive protected and easy to use.
Built to your drawing, every time
Whether we are building one prototype or a full production run, the drawing is the reference. Work instructions, materials and test steps are matched to it, and any question gets settled with you before it becomes a guess on the floor. That discipline is what keeps unit one and unit one thousand looking the same.
Knowing how your product is built makes it easier to design for it. If you would like to see how a specific assembly would move through these steps, ask us.
The people behind it
Machines handle the repeatable work, but people run the floor. Operators, inspectors and engineers work in the same building, so a question about your drawing can be answered by the person standing next to the equipment. That proximity is a big part of how we keep programs moving.
Want to see it for yourself? Get in touch to discuss a project or to arrange a conversation about your build.